


Table of contents


No headings in the article.
Problem
You have a Laravel application running on a remote server. Maybe you just moved your app to a new hosting provider or upgraded your server's resources and you want to know if the response time has changed. How do you know your server's response time, how long does it take to respond back to a client request?
Solution
Well as the title of this article states, we are going to use the Laravel/Livewire stack. We are going to build something like this:
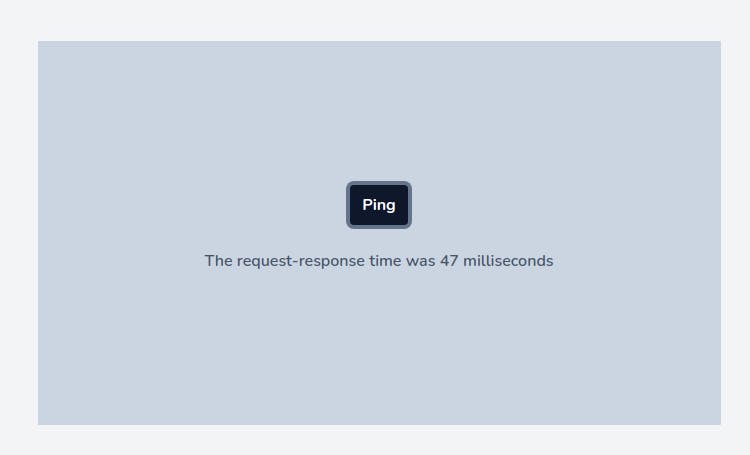
 A livewire component that measures the roundtrip network time going from client to server, and back to the client then display it on the page.
- Note: For you to have the same design as in this tutorial you need to have TailwindCSS installed in your Laravel app, there are many ways to do this but we are not going to cover it in here as it is not the main goal of this article. Here is an article that will help you install TailwindCSS in a fresh Laravel app. If you want to learn TailwindCSS you can check this official tutorial on how to get started with the framework.
STYLING IS NOT REQUIRED FOR YOU TO FOLLOW THIS TUTORIAL
So, now that you are all set, let's get started! We first start by installing Livewire, if it is not already the case, by running the following command:
composer require livewire/livewire
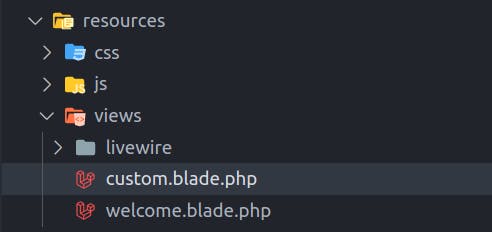
This will install livewire in our Laravel application. Next we need to create a blade page that will hold our Livewire component in charge of pinging the server response time. Let's call it custom
We now need to add the blade directives to the custom page for Livewire to work. Our blade page now looks like this:
<!DOCTYPE html>
<html lang="{{ str_replace('_', '-', app()->getLocale()) }}">

<head>
    <meta charset="utf-8">
    <meta name="viewport" content="width=device-width, initial-scale=1">

    <title>Laravel</title>

    <!-- Fonts -->
    <link href="https://fonts.googleapis.com/css2?family=Nunito:wght@400;600;700&display=swap" rel="stylesheet">

    <!-- Styles -->
    <link rel="stylesheet" href="{{ asset('css/app.css') }}">

    <!-- Livewire directives -->
    @livewireStyles
    @livewireScripts
</head>

<body class="antialiased">
    <div class="flex justify-center min-h-screen bg-gray-100 sm:items-center py-4 sm:pt-0">

    </div>

</body>

</html>
Notice how we put the @livewireScripts directive in the head section, this is done on purpose as we need the Livewire's javascript to be loaded before the Livewire component is mounted. Don't worry you will understand why in a short just bear with me for now.
Next we are going to create a Livewire component which will contain the logic for pinging the server and display the response time on our custom blade page. We will use the following Livewire command:
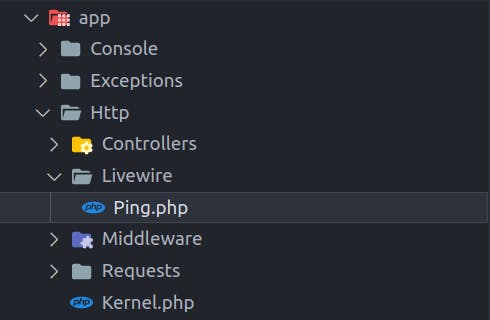
php artisan make:livewire Ping
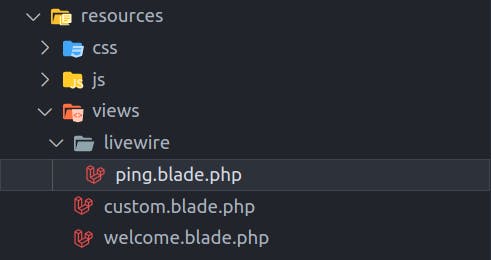
Two new files were created in our project:
app/Http/Livewire/Ping.php
resources/views/livewire/ping.blade.php
Now let's build the ping component UI that we will use sending ping requests to the server.
resources/views/livewire/ping.blade.php:
<div class="h-96 my-auto w-1/2 mx-auto bg-slate-300 text-center">

    <button onclick="sendEvent()"
        class="py-2 rounded inline-block mt-36 px-3 bg-slate-700 text-white  font-bold transform transition hover:bg-slate-600 focus:bg-slate-900 focus:ring-slate-500 focus:ring-4">Ping</button>

        <br>
        <br>
    <span class="font-semibold block text-slate-600 text-base m-auto">{{ $message }}</span>

    <script>
        // This function emits an event to the server with the emit-time as a parameter
        function sendEvent(){
             Livewire.emit('ping-sent',  Date.now())
        }

        // This is the client listener waiting for the ping-reply from the server
        // then calculate the difference and emits an event with the duration of the ping to the server
        Livewire.on('ping-reply', sentTime => {
            const replyTime = Date.now()
            Livewire.emit('ping-time',  replyTime - sentTime)
        })
    </script>
</div>
Remember when I told you to put the @livewireScripts directive in the head section, this was done so that the Livewire plugin gets loaded before the ping component is rendered. If the @livewireScripts was to be added at the end of the body tag, this would mean that the Livewire plugin would not exist at the time of rendering hence causing an error of type undefined. Meaning that you're trying to access an object that doesn't exist:

Now that we have built the UI, let's implement the backend logic in charge of responding back to the client and also updating the response time message.
app/Http/Livewire/Ping.php:
<?php

namespace App\Http\Livewire;

use Livewire\Component;

class Ping extends Component
{
    // The message containing the response time
    public string $message = "";

    // A listener that maps events to listeners methods
    protected $listeners = ["ping-time" => "getPingDuration", "ping-sent" => "replyToClient"];

    // This function is a listener in charge of replying back to the client
    public function replyToClient($sentTime)
    {
        $this->emit("ping-reply", $sentTime);
    }

    // This function is a listener in charge of updating the message with the duration of the ping request
    public function getPingDuration($difference)
    {
        $this->message = "The request-response time was $difference milliseconds";
    }

    public function render()
    {
        return view('livewire.ping');
    }
}
Now let's add the newly created Livewire component to the custom page, here is the full custom page:
<!DOCTYPE html>
<html lang="{{ str_replace('_', '-', app()->getLocale()) }}">

<head>
    <meta charset="utf-8">
    <meta name="viewport" content="width=device-width, initial-scale=1">

    <title>Laravel</title>

    <!-- Fonts -->
    <link href="https://fonts.googleapis.com/css2?family=Nunito:wght@400;600;700&display=swap" rel="stylesheet">

    <!-- Styles -->
    <link rel="stylesheet" href="{{ asset('css/app.css') }}">

    <!-- Livewire directives -->
    @livewireStyles
    @livewireScripts
</head>

<body class="antialiased">
    <div class="flex justify-center min-h-screen bg-gray-100 sm:items-center py-4 sm:pt-0">

        @livewire('ping')
    </div>

</body>

</html>
Return the custom blade page in a web request to see it displaying the server's response time:
Route::get('/ping', function () {
    return view('custom');
});
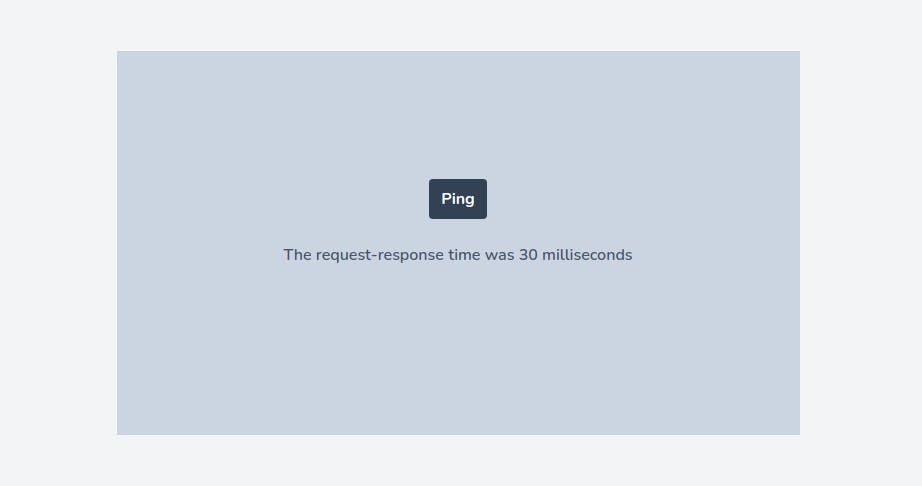
And Voila, now you should be able to ping your server and see the roundtrip network time from client to server and back to the client.
Discussion
Sometimes you just need a quick and simple hack like for this scenario. You don't have to use complex tools when all you need is a quick fix that you can pull out from time to time. The cool thing is you can even use this for other purposes like a server status checker that your app's users or even yourself(developer) would use to check if the app is not down. If you got any other use case in mind feel free to share with us in the comments.